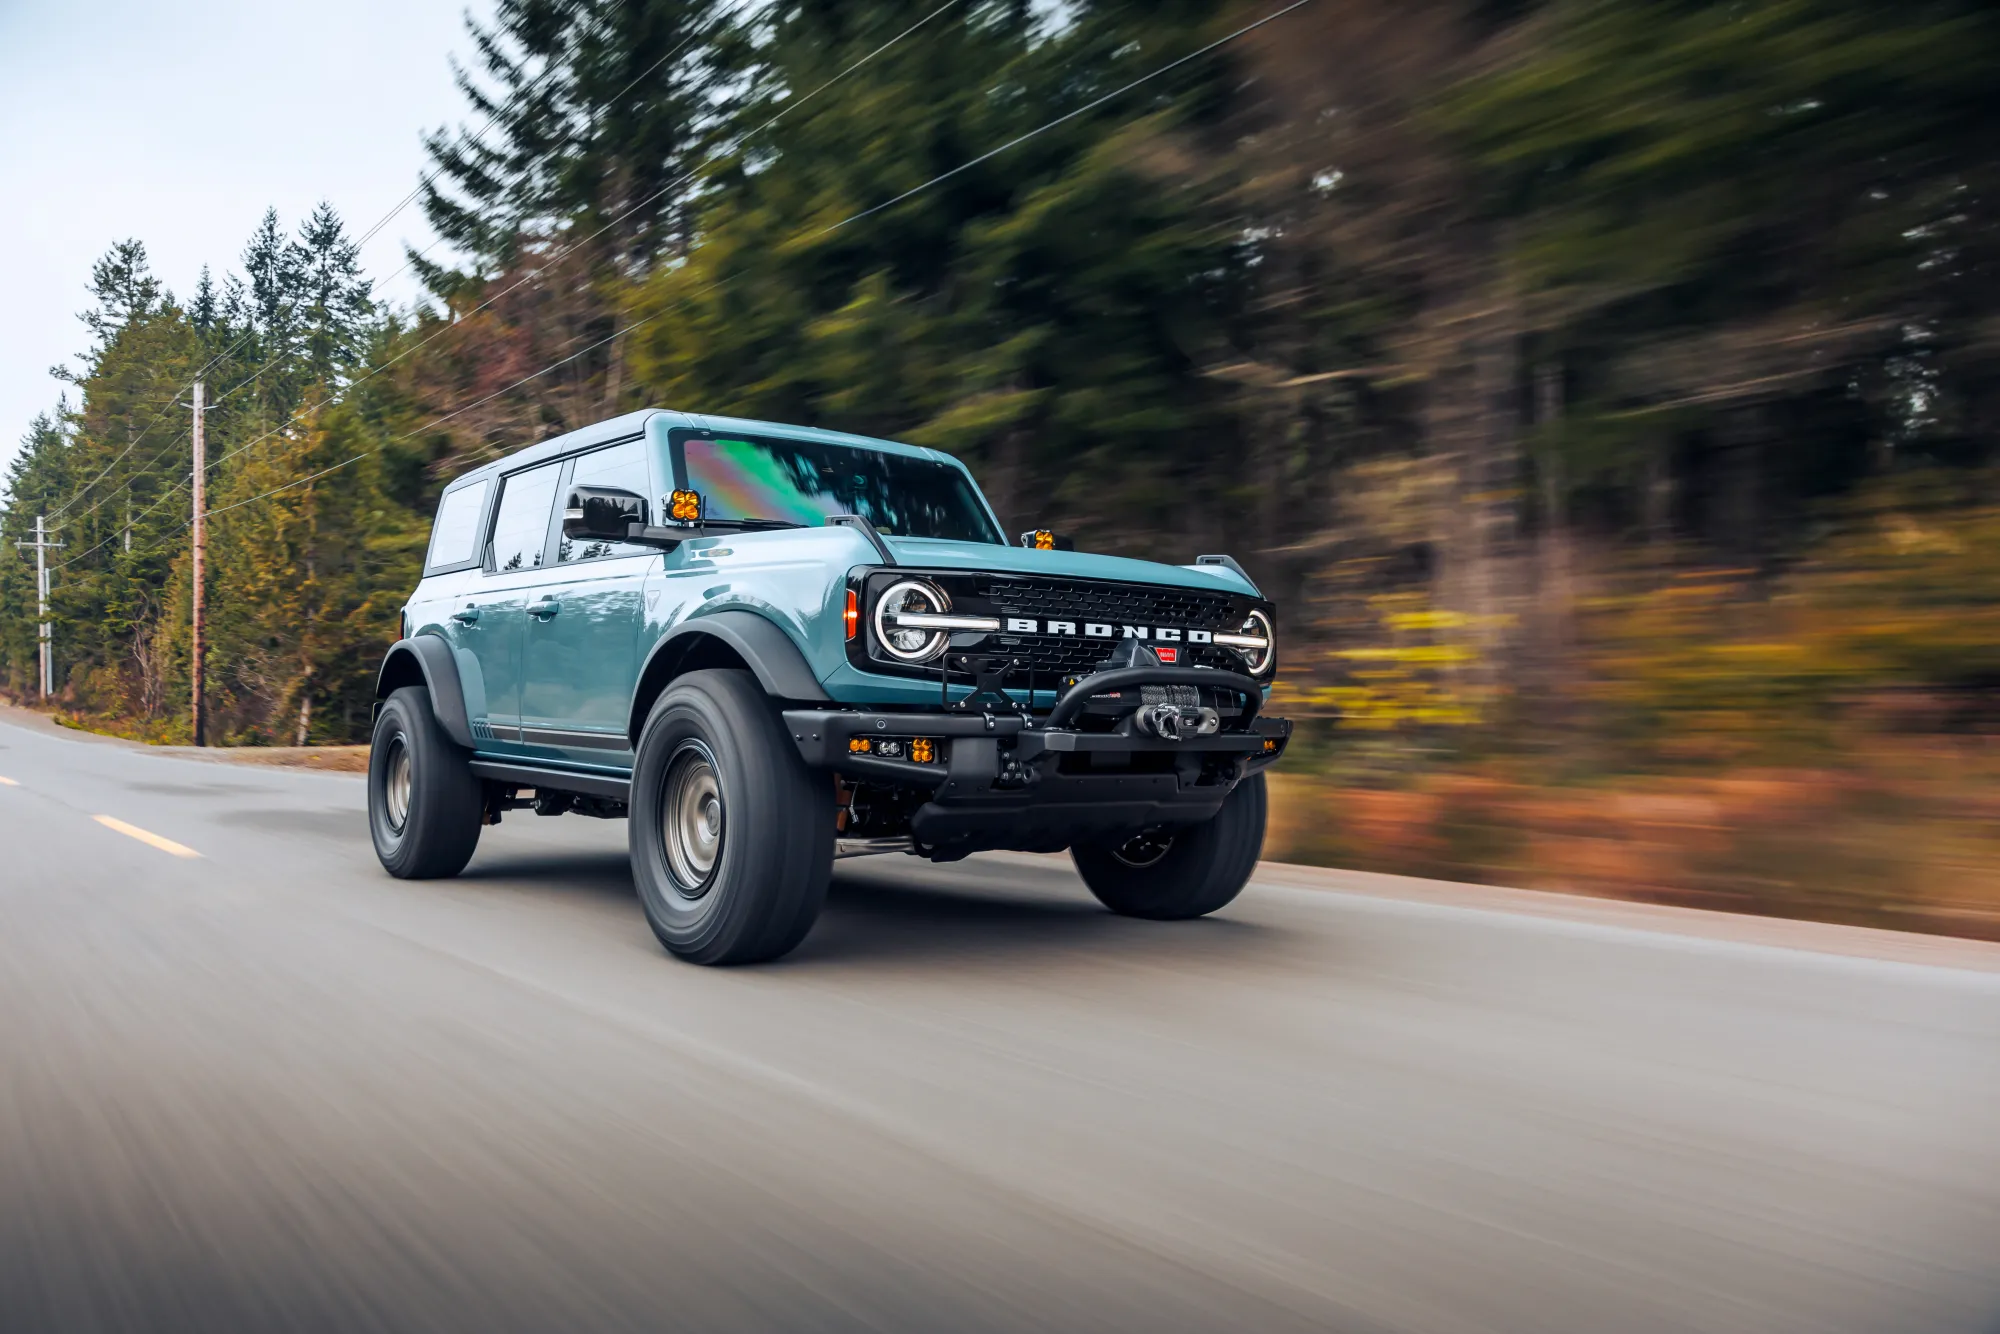
The lift goes on, the tires go on, and the truck looks exactly the way you pictured it sitting in your driveway off Sunset Boulevard. Then a week later something feels off. The steering wheel isn’t quite centered anymore. There’s a vibration at highway speed on I-20 that wasn’t there before. The dash says 60 and traffic is still passing you.
None of that means the lift was done wrong. It means the lift changed things underneath the truck that most owners were never told about, and a few of them need a second visit to sort out. This is the part of a lift kit job that doesn’t show up in the photos: the geometry, the numbers on the dash, and the follow-up checklist.
Here’s what actually changes, in plain language, and what belongs on your list after the install.
What a Lift Kit Actually Changes Underneath the Truck
It’s tempting to think of a lift as a spacer problem. Raise the body, raise the suspension, done. What really happened is that every angle your front end was engineered around moved at once.
Caster, camber, and toe all shift. Those three angles decide whether the truck tracks straight, whether the wheel returns to center after a turn, and whether your tires wear flat or feather off at the edges. Lift the suspension and they move together. This isn’t a maybe. Rough Country’s own installation instructions for a Jeep XJ suspension kit include a step showing the caster adjustment on the lower control arms and state flatly that the caster will have to be adjusted to ensure proper alignment. The manufacturer is telling you in the paperwork that the alignment is part of the job, not an optional add-on.
Control arms, track bars, and tie rods now sit at steeper angles than the factory designed for. That changes how the front end reacts to bumps and how much of a bump gets fed back into your hands.
Your steering stabilizer becomes more important, not less. Rough Country warns that with any lift kit and larger tires, the condition of the steering stabilizer needs checking, because it restrains bump steer and front-end vibration and adds life to tires, ball joints, and other steering components. A worn or leaking one should be replaced. On a stock truck a tired stabilizer is a nuisance. On a lifted one running heavier tires, it’s the part holding the front end’s manners together.
Tire and wheel choice is part of the engineering, not decoration. The instructions for one F150 kit note it was developed around a 33×12.50×15 tire on an 8-inch wheel with 3-5/8-inch backspacing, and tell owners to consult a tire and wheel specialist before running other combinations. Backspacing the kit wasn’t designed for is how you end up with a tire touching a control arm at full lock. If you’re not sure what your kit was built around, bring the truck by and let us measure rather than guessing at a wheel order. Our Tires & Wheels side of the shop deals with fitment questions like this constantly.
Why Truck Alignment After a Lift Kit Is a Different Job
A routine alignment puts your angles back to the factory printout. That’s the right answer on a stock vehicle and the wrong one on a lifted truck, because the factory printout describes a truck sitting at a ride height yours no longer has.
Truck alignment after a lift kit means setting the angles that work for the new geometry, often using adjustable components the truck didn’t leave the factory with. It also means the technician has to know what a lifted vehicle should read, not just what the machine says is “green.”
Symptoms that tell you the alignment hasn’t been sorted:
- The steering wheel sits off center when you’re going straight
- The truck wanders and needs small constant corrections on the highway
- Feathered or edge wear on brand-new tires, sometimes visible within a few thousand miles
- The truck pulls one direction on a flat, crowned road
Picture a common Lexington case: a half-ton gets a leveling kit and 33s, commutes into Columbia every day, and inside a month it drifts a little and the wheel sits crooked. That’s caster and toe drift after a lift, not a defective tire. It’s also entirely fixable. If you want to get fluent in what your tread is telling you, our guide to uneven tire wear patterns breaks down each pattern and its cause.
If you’re weighing this against everything else on the truck, call the shop and ask for a current quote. We’d rather give you a real number for your specific vehicle than have you budget off something you read online.
Bigger Tires, Wrong Numbers: Speedometer and Odometer
This is the one almost nobody mentions, and it’s the one with the longest tail.
Your truck doesn’t measure speed. It counts wheel rotations and multiplies by the circumference of the tire it left the factory with. Change the tire diameter and every rotation now covers more ground than the computer thinks it does. The speedometer reads low. The odometer counts short.
Discount Tire’s plus-sizing guidance suggests keeping overall diameter within about 3% of stock to limit rubbing, fuel economy loss, and speedometer error. Their example is exactly the one most lifted trucks land on: going from roughly a 31-inch stock tire to a 33-inch tire is about a 6% diameter increase, which means an indicated 60 mph is actually somewhere around 63 to 64 mph unless the speedometer is recalibrated.
Consider what that quietly does over a year:
- Every speed you read is optimistic. You are moving faster than the dash claims, on every road, including the ones with cameras and troopers.
- Every mile is under-counted. Your odometer accumulates fewer miles than the truck actually travels.
- Your service intervals stretch without your permission. If oil changes are due every so many miles and the odometer is running short, you’re going further than you think between them.
- Trade-in and warranty mileage drift away from the truck’s real history.
- Cruise control and any speed-based feature inherit the same offset.
Speedometer recalibration for larger tires is the fix, and it’s a real correction to how the vehicle interprets that rotation count, not a sticky note on the dash telling you to add three. This is where Abbott’s is a slightly unusual stop: we install lift kits and we also work on speedometers and instrument clusters. The alignment, the tires, and the recalibration can be handled in one place instead of sending you across town. Tire pressure monitoring also typically needs to be addressed as part of a new tire and wheel installation.
Driveline and CV Angles: The Vibration That Isn’t a Wheel Balance Problem
When a vibration shows up after a lift, most people go straight to wheel balance. Sometimes that’s it. Often it isn’t, and the tell is when the vibration appears.
Rough Country’s lift kit troubleshooting section is refreshingly specific about this:
- Vibration under acceleration points to the pinion sitting too high in relation to the transfer case output shaft.
- Vibration under deceleration points to the pinion sitting too low.
- On leaf-sprung vehicles, axle shims are used to rotate the pinion in the needed direction.
There’s a second one that shows up on taller lifts. Slip yoke vibration, caused by excessive angle at the transfer case slip yoke, is described as very common on vehicles with 2 inches or more of lift. Lifts in the 2 to 3.5-inch range can sometimes be cured with a transfer case drop kit. Past that, it typically takes a slip yoke eliminator kit and a CV driveshaft, with the pinion then set about 2 degrees below parallel with that shaft.
So a Jeep on a 2.5-inch lift that hums under throttle and goes quiet when you coast isn’t telling you the tires are out of balance. It’s telling you the driveline angle needs attention. Which of those paths your vehicle needs depends on the lift height and what’s already installed, so let us look before anyone orders parts, and ask for a quote once we know which fix applies.
Brakes, ABS, and Steering Feel After the Lift
Bigger tires are heavier and taller, and both work against your brakes. The manufacturer says so directly: braking performance and capability are generally decreased when significantly larger or heavier tires and wheels are used, and drivers should take that into account. Your stopping distance is not what it was. If your brakes start talking back after a lift, don’t write it off as new-tire noise.
The same wheel-rotation signal that drives your speedometer also feeds ABS and traction control. Those systems compare wheel speeds to decide what’s slipping, which is another reason the recalibration matters beyond the number on the dash.
Then there’s the hardware the install itself has to leave in good order. The post-installation instructions call for verifying clearance between all rotating, moving, fixed, and heated parts, checking the steering gear for interference, testing the brake system, performing a full steering sweep, and confirming brake hoses have enough slack that they can’t contact anything as the suspension moves. The instructions warn that skipping those inspections can lead to component failure. They’re just as blunt about bump stops: they must be in place on every vehicle, because letting the suspension over-extend can seriously damage original and related components.
One more, on stability. Rough Country’s product information puts it plainly: as a general rule, the taller a vehicle is, the easier it will roll, and owners should offset some of that by widening track width, or go wide as you go tall. They also recommend a “Warning to Driver” decal inside the windshield or on the dash so anyone driving the truck is reminded it handles differently than stock.
South Carolina Rules Midlands Owners Get Wrong
This one gets repeated wrong constantly at gas pumps and in group chats.
The six-inch rule. South Carolina Code Section 56-5-4445(A) makes it unlawful to drive a passenger motor vehicle that has been elevated or lowered, yet still leveled, more than six inches through modification or alteration of the vehicle’s physical structure. Here’s the part people leave out: that subsection explicitly does not apply to vehicles commonly referred to as pickup trucks.
The rule that does cover pickups. Section 56-5-4445(B)(1) makes it unlawful to drive a passenger motor vehicle, expressly including pickup trucks, if alteration of the suspension, frame, or chassis raises or lowers the front fender four or more inches relative to the rear fender. Fender height is measured vertically from the ground, perpendicular, through the wheel centerline to the bottom of the fender. That’s the provision aimed at nose-high and nose-down builds, and it applies to your truck.
Headlights. South Carolina sets a headlamp height standard measured from the center of the lamp of not more than fifty-four inches and not less than twenty-four inches, applied to new vehicles sold in the state. Beyond the statute, there’s a practical reason to care: a lift raises and re-points your headlights. On unlit roads around Gilbert, Chapin, and Red Bank, a beam thrown too high lights up the tree line instead of the pavement, and it dazzles oncoming drivers. Getting them re-aimed after a lift is cheap insurance for how far down the road you can actually see.
Rough Country’s own paperwork makes the same point from the other side: most states limit vehicle height in some form, the rules vary widely, and it’s the owner’s responsibility to confirm compliance. They also warn against adding or fabricating parts to push the vehicle higher than the kit was designed to go.
The After-Install Checklist Most Owners Skip
The install isn’t the finish line. Here’s the follow-up sequence, in the order it should happen.
- Come back at 500 miles for a re-torque. The manufacturer’s instructions say it outright: re-torque all fasteners after 500 miles, then visually inspect components and re-torque during routine service. Suspension hardware settles.
- Get a second alignment once everything has settled. The first alignment is done on springs that haven’t taken a set yet. Re-checking it after the truck has been driven is what keeps your new tires from paying for the difference.
- Confirm the speedometer recalibration. Verify the correction actually took, so your odometer and service intervals are honest again.
- Have the headlights re-aimed. Two minutes of work, better night vision, fewer flashes from oncoming traffic.
- Re-check brake hose slack and clearances. Look for rub marks anywhere near rotating or moving parts.
- Read the tires at the first rotation. Wear patterns are the most honest alignment report you’ll get. Edge wear or feathering means something is still off.
- Keep the paperwork in the truck and make sure the warning decal is in place.
A lifted truck also meets Midlands pavement differently than a stock one, so the same habits that protect any suspension still apply. Our notes on avoiding pothole damage are worth a read once the new geometry is dialed in.
FAQ
I only did a leveling kit. Do I still need an alignment?
Yes. A leveling kit changes ride height, and ride height changes your alignment angles. Smaller change, same category of problem.
Will bigger tires trip a warning light?
They can. Speed-based systems including ABS and traction control read the same wheel rotation signal the speedometer uses, and tire pressure monitoring usually needs to be addressed when new wheels and tires go on.
How soon should I come back after the install?
Plan on the 500-mile re-torque, and have your alignment re-checked at the same visit.
The lift was installed somewhere else. Can you still help?
Yes. We handle alignment on lifted trucks, tire and wheel fitment, and speedometer and instrument cluster work regardless of who did the install.
What is all of this going to cost?
That depends entirely on your vehicle, your lift height, and what’s already on it. Rather than publish a number that goes stale, we’d rather give you a current one for your truck. Request a quote or call the shop and we’ll walk you through it.
Talk to Abbott’s About Your Lift
Abbott’s Auto Care has been taking care of Lexington and the greater Columbia Midlands since 2000, and our ASE-certified technicians handle the whole chain on a lifted truck: lift kit and suspension installation, alignment set for the geometry you actually have, tire and wheel fitment, and speedometer and instrument cluster recalibration, all under one roof at 1645 W Main Street in Lexington.
Whether your lift is still on the wish list or already on the truck and something feels off, we’ll tell you straight what it needs. Request a quote, schedule an appointment online, or call us at (803) 356-8851.